Sunday, January 12, 2014

Folk Art Doll Joints

I traditionally take the month of January and explore new directions for my artwork. It can be something that feels big and very different or some small design detail. It's mostly about indulging my creative self with something off my typical beaten path, or that looks intriguing.

The first thing I wanted to explore is the old joints I've seen on folk art doll legs and arms. Mostly a tradition done in wood, but I thought it might be cool to try it in metal.


My first attempt is below (so far). It's rather labor intensive with each different plane within the joint being a separate piece of cut copper braised in place. Yet I'm still wanting to try more variations.


I'll definitely need to leave more space in the central joint area than I did this time. The lower leg moves now, but doesn't have the full range of movement that I want. This piece will eventually have long vines with leaves that come out of the arms. Long enough so that they drop down below the figure's feet by quite a bit. I'm wanting to use etched brass and maybe some decal transfers on some of the leaves. More experimentation! 


Tuesday, December 3, 2013

Little Works

Click on the image to go to the e-book, once there then click the arrow on the right to turn pages. I finally figured out how to photograph using a super macro lens on my camera. Very fun.

Sunday, November 24, 2013

Houses with Stilts

This last week I had a couple of days where I just needed to play - no expectations of what might come out creatively. It's always rather curious to me what will come out. This time it was houses on tall stilts. I'm not really a stranger to this kind of creation, there's a birdhouse that's been standing out in my vegetable garden I made years ago.

And in my inspiration scrap file there are also similar things.


But I have to say that for some reason these little guys I indulged in gave me such relief! I'm not sure exactly why. Maybe because they were just the simple delight in mixing leftover scraps of etched metal textures with small old clock parts. Then mixing wire with that. Then hanging whatever from the houses inside the wire framework. In any case, it was therapeutic, felt playful and it definitely recharged my batteries a bit.

"House 1"
Etched brass, copper, clock parts, seed bead.
12x6x1.5"

"Water Wheel House"
Etched brass, copper, translucent fishing lure, typewriter ribbon wheel, clock parts.
13x8x1.5"

"House 3"
Etched nickel, copper, clock parts, coral.
12x9x2"


Sunday, November 17, 2013

Threaded Rod Axels


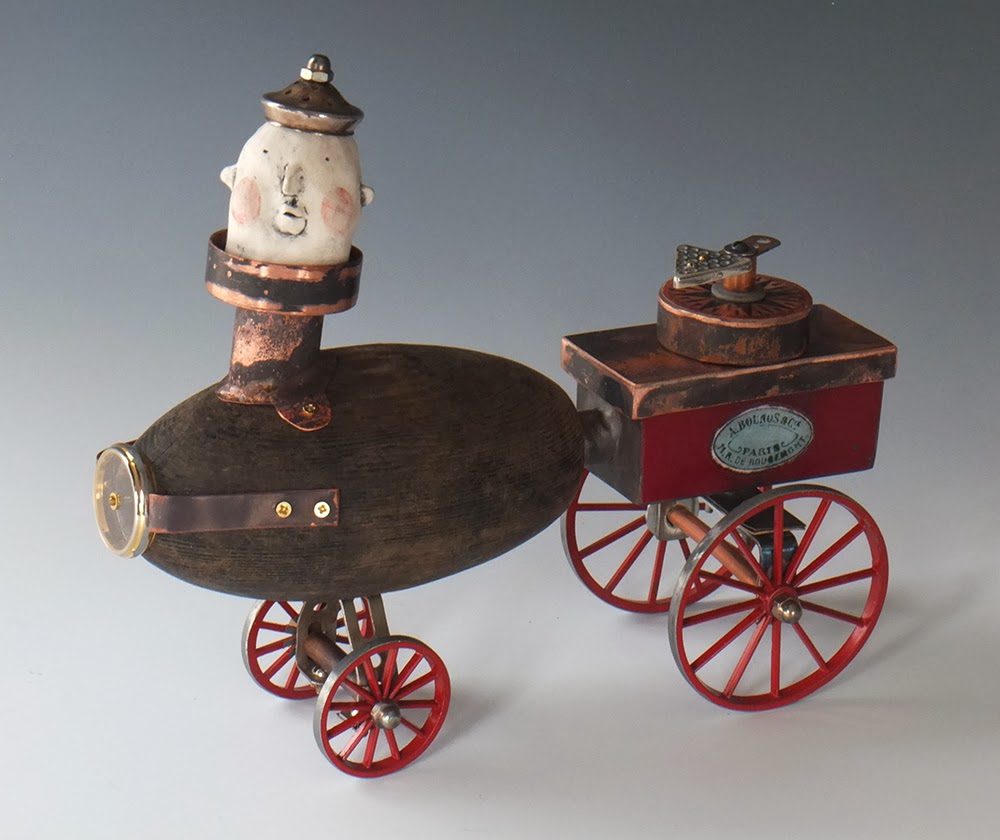
The threaded rod is a simple and easy way to assemble an axel if you want to add wheels to an art assemblage piece. There are several ways to do it depending on the kind of material you're using as a base and the look you want.

The first way is to simply attach 'L' brackets to your piece with screws.


Here I've attached them to a wood piece for example. Then the threaded rod gets pushed through the holes in the 'L' brackets and at both ends I add a washer, a wheel and the end domed hex nuts. Very simple.

The second way is to drill holes in the sides of your piece, as shown on the back set of wheels here, and slide the threaded rod through.


The wheels can be put on the outside of the holes, as in this example, or on the interior side (for the interior version you'd need to use smaller wheels than the ones I have here so they'd fit inside. Also if you choose the inside placement, you'll need to cut a spacer bar that will fit over the threaded rod and in between the 2 wheels to hold the wheels in place. I typically use a 1/4" diameter length of copper pipe).

The third way is to braze onto your piece a set of 1/4" copper pipe cut to size, then push the threaded rod through the pipe. Then slide on the washer, wheel and end dome hex nut on each end.


I've also found that certain pieces of old erector sets work great too. The piece below uses a triangular erector piece to attach an axel to a wooden net float.


Sunday, November 10, 2013

Threaded Rod Assemblage

I've been into mixed media assemblages for years now, but it wasn't until the recent addition of my ceramic heads to my figures that I 'discovered' threaded rod as a connector. Now it's one of my favorite cold-connection methods. Pretty much anything can be connected together as long as there is a big enough hole drilled through each part so that the threaded rod can be inserted, and then a nut can be attached to both ends.

Here's an example of a small piece put together that way.

A dome hex nut finishes the top on this piece, while underneath is a regular plain hex nut. So simply the pressure of tightening these two nuts on the opposite ends of the threaded rod hold the elements of the figure together.


Here are all the components and the rod taken apart. The salt shaker top is pewter, next the ceramic head, a silver plated napkin ring, then 2 brass pieces. This small figure uses a 8-32 size stainless steel threaded rod and nuts. You can typically get these rods at your local hardware store and they come in many different thread sizes and usually in 3 foot lengths. I cut the rods to the exact size I need with a jeweler's saw. I've used as small as 4-40 size rod. As the scale of the figure moves up in size, so does the rod size to handle the bulk. Sometimes on figures with a ceramic head I'll put a buffer of a rubber washer to get a snug fit and to prevent cracking the ceramic.

The only other concern is to make sure that each of the components actually sit well against each other, so that there's no slipping and/or gaps once the pieces are all tightened together.

Here's a few other figures assembled with this method.

The rod stops at the base of the skirt.

 The rod is short going from the top of the head just through the top end of the hollow (silver plated) metal body piece.  Arms and legs are attached with small brass screws. 

What I love about this method is it is so immediate. So now all those lovely, weird, interesting components you've been saving can be made into one luscious piece!


Saturday, October 19, 2013

Sue Greenwood Gallery Show

This month I'm so pleased to be a part of the "Twisted Women" group show at the Sue Greenwood Gallery in Laguna Beach, CA. Included in that show are the very talented artists Johan Hagaman, Anne Siems, Lucy Gaylord-Lindholm and Deborah Davidson.

I did a series of 3 of my photo collages. I love the title of the show!

"She's Got Betty Davis Eyes"
30x30", mixed media on panel.

"Night Traveler Into the Kingdom of Dream"
30x30", mixed media on panel.

"The Magic Already Written Across Her One Precious Life"
30x30", mixed media on panel.

Thursday, October 17, 2013

Constructed Narratives Class

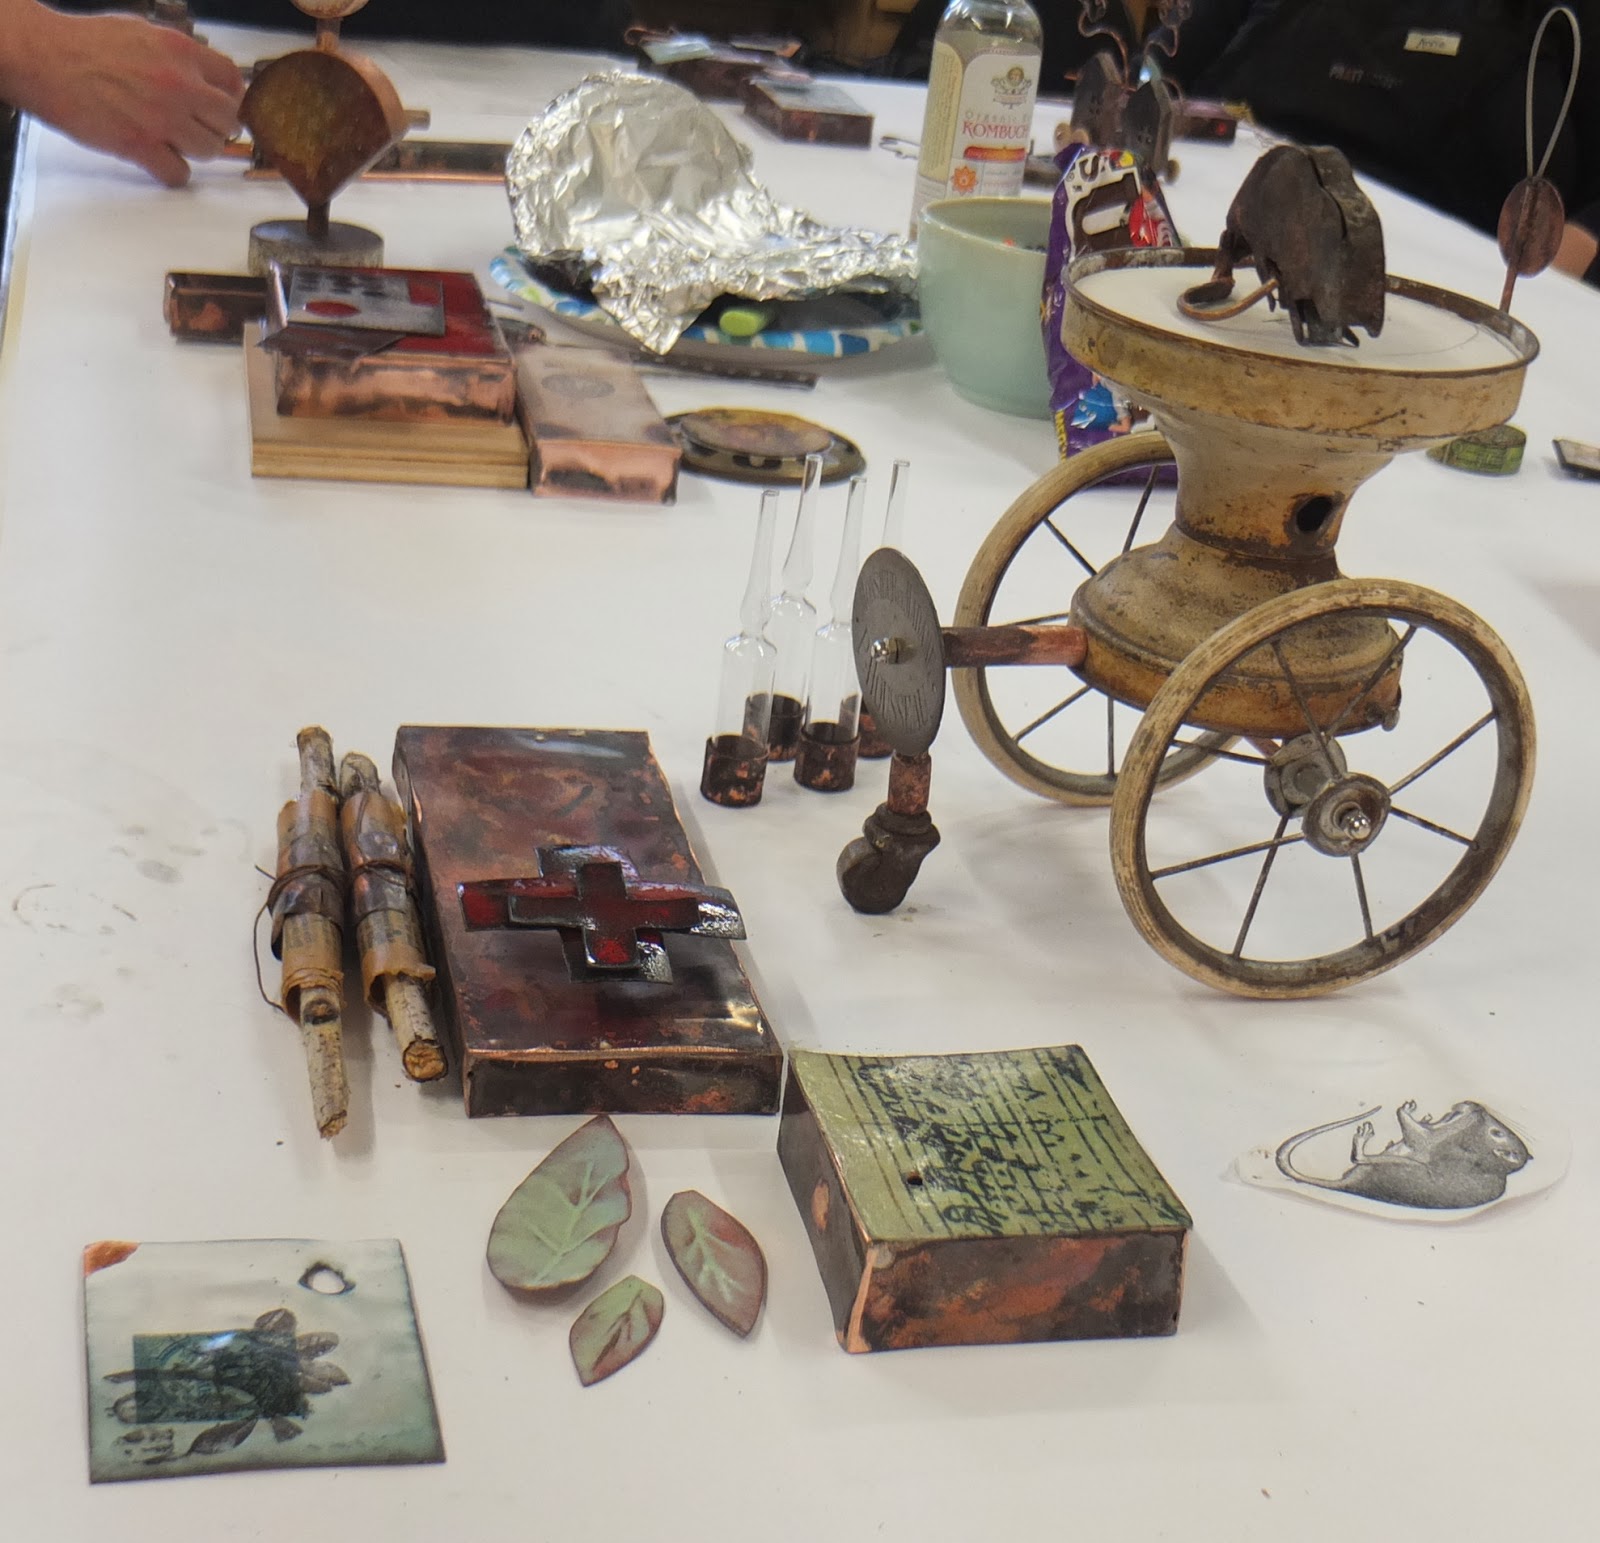
Last weekend I had a fabulous time teaching some torch-fired enameling, brazing, and found-art connections at Pratt Fine Arts Center in Seattle. Here are a few of the creations. . .