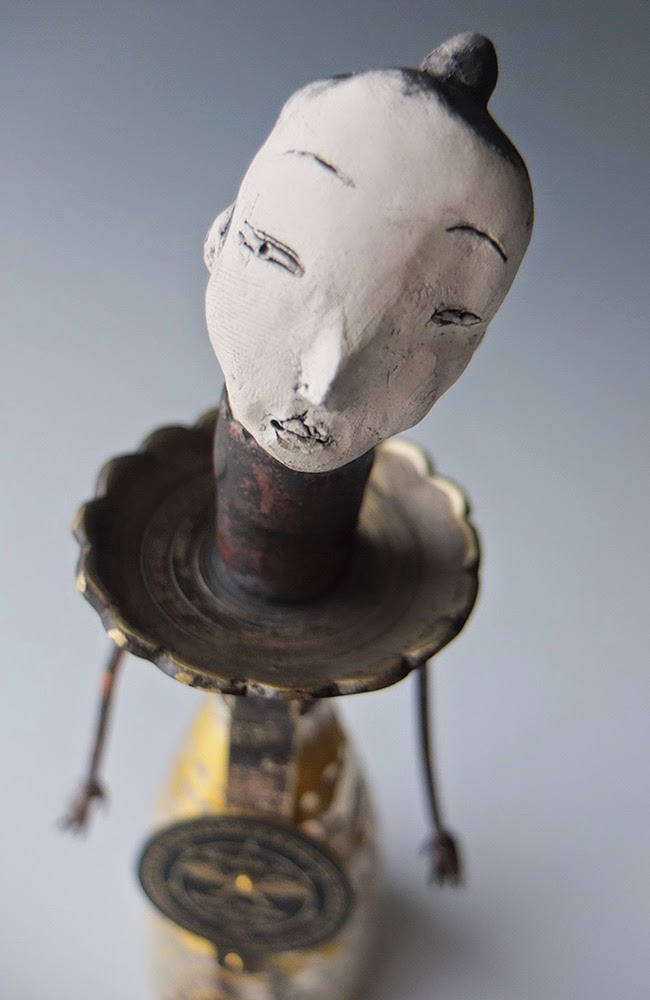
Some quick little guys.
Saturday, March 29, 2014
Sunday, March 23, 2014
Finishing the Copper Riverboat
I finished up the copper and enameled riverboat "Queen Bee" this last week. I took some pictures along the way to help show the process.
I completed assembling my large and small cabins and now want to attach them to the deck of my hull. I figure out where I want the cabins to be and then braze 1/4" pipe segments to the hull and cut holes in the tops of the cabins where these pipe segments will come through.
Then I braze the pipe segments to the top decks of the cabins. This holds the cabins to the deck.
In the case of 2 cabins stacked, like above, I braze it on the lower cabin first and then put the top cabin on top and braze it in place.
Next I'll either hide the brazed ends sticking out of the cabin tops with a chimney, or use the end to support a flag pole. In the picture above you can see where the process of brazing the chimney onto the front small cabin left a black carbon mark. I remove that by placing the entire boat into a solution of Etchall, which not only removes the carbon but also takes the high gloss of the enamel down to a matte surface. One more thing before that final Etchall bath, I attached the copper wire railings to the deck.
To give the back caster wheel a place to attach, I brazed a bit larger copper pipe in place under the deck. This is one of those instances where I get out the two part epoxy and put a fair amount into the pipe and then slide the caster wheel rod into place and hold it until the 5 minute epoxy sets up. Next I added some striping to the small cabins by adhering decals to them.
Finally, a finished riverboat!
Sunday, March 16, 2014
Copper & Enamel Riverboat
Last week I started playing around with making boats again. I think I have a love of boats that is here to stay. Yet each time I revisit my ship making, I always like to experiment with new proportions just to keep things interesting. This time around I found some images of old tin toy riverboats that called out to me. Then began the process of figuring out how I might assemble such a structure. Here in shorthand is my thinking.
First the hull structure (the long narrow piece) and the top deck. I like to use a card stock for figuring out the pattern because it can be taped together with scotch tape first to see how it works out.
The challenge with that long hull piece was making the curve just right for the stern and then torch-firing it. A pretty awkward piece to handle. Then I brazed it to the deck. Wheels are attached with a threaded rod through holes drilled in the hull.
Next were the wheel covers (the half circle with brazed sides). The graphics on the wheel covers are created in Photoshop and then output onto an inkjet decal paper. Tiny screws attach the wheel covers to the hull.
The white enameled top cabin came next. I cut all those windows out with a jeweler's saw (lord!). The cabin isn't attached yet, nor are any of the chimneys. I need to create 2 more smaller cabins. I just have paper place holders in for them in this picture, but the pieces for them are laying on the desk.
The brass caster wheel will be used in the stern underneath. I have a support in there now just as a stand in. I'm thinking the caster connection will get hidden under the small back cabin I have yet to make.
More to come...
Labels:
copper,
copper riverboat,
copper ship,
enamel,
inkjet decal paper,
riverboat
Subscribe to:
Comments (Atom)


