I am loving antlers on many of my ceramic figures lately. There is a suggestion of wildness that I like about them. So I thought I'd show my way of attaching them to my ceramic figures, since it is a pretty simple process.
First I cut 10 gauge copper wire and lay it over an antler sketch I made.
Then I braze the wire segments together and use a belt sander to grind the ends to points.
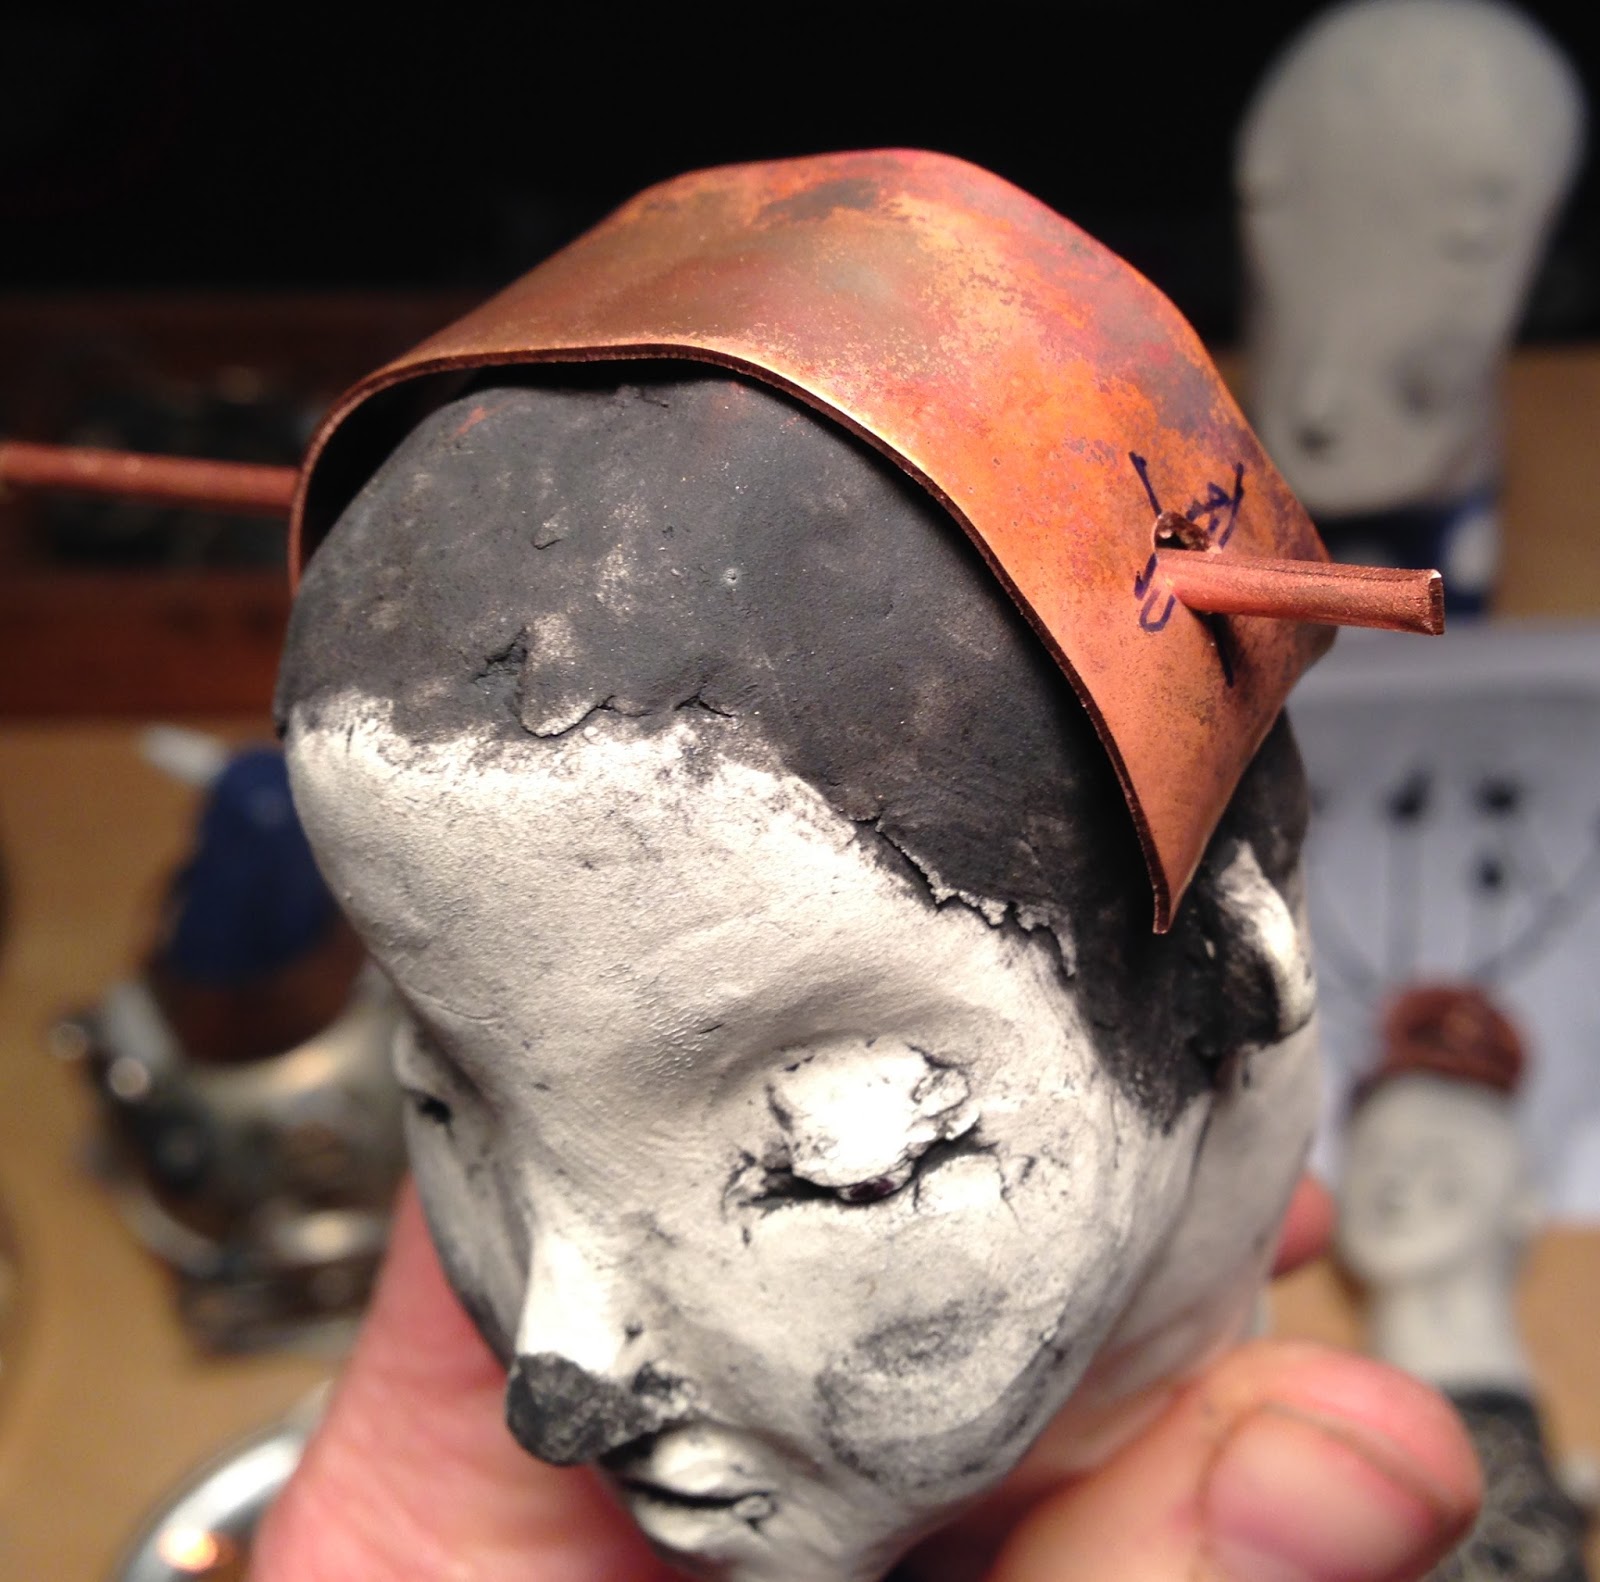
Then I slide a small copper tube (or 10 gauge wire) through the holes that I made in the ceramic figure. The holes were made when the clay was wet, then the piece was fired.
Then I anneal a small copper strip and drill holes in the ends so that the small copper tube will slide through. Before brazing the tube to the strip I round the corners off with my sanding belt and fit it to the ceramic head.
When I braze the rod ends to the small copper strip, I take my time and heat the strip up slowly. I also hold the oxyacetylene torch flame a good 5-6 inches away and focus it only on the copper strip. The fired ceramic can take a lot of heat, but hitting it with a direct flame can make it crack and or chip, so one has to be careful. Many times if the copper area I'm brazing seems too small, I'll hold up a 'protective' scrap of copper sheet to keep the flame from hitting the ceramic directly. So I braze both sides of the copper rod and then while the small copper strip is still hot, I carefully braze the antlers on top. Then I let it cool and use my belt sander to grind down the extra copper tube hanging out.
I may or may not clean off the fire scale, depending on how I like it, and then seal it with a boot waterproofing wax/oil.


No comments:
Post a Comment